In a nutshell
- 🧰 Shows how elastic tension from a simple rubber band chain snaps hair, biofilm, and soap scum free without scratching pipes.
- 🪢 Guides you to build a DIY tool with 12–20 bands and a dowel, plus a quick reference for band width and chain length by fixture.
- ⚙️ Details the snap-and-release method: twist, push 2–3 cm, release; use warm water and washing-up liquid; pull out periodically to clear gunk.
- 🛡️ Prioritises safety: avoid mixing with caustics, beware disposers and corroded traps, and watch for red flags like gurgling or sewage smells.
- 🌿 Underscores benefits—eco-friendly, low-cost, fast—best for near-drain clogs; not for main line issues or roots; know when to call a pro.
Blocked sink at breakfast, guests arriving by lunch? Before you reach for harsh chemicals or a pricey call-out, try a surprisingly elegant fix: the rubber band. Elastic tension can dislodge hair, biofilm, and soap scum that slow household drains. It’s quiet, cheap, and kind to pipes. Because rubber is compliant, it grips slick residues while avoiding the gouging that rigid tools risk. The technique is simple: build a flexible chain, load it with torsion, then release. The snap shears gunk. The surface stickiness gathers it. Used with care, this method is safe for most kitchen and bathroom fittings. And yes, it works astonishingly fast.
Why Rubber Bands Work in Drains
Think of a rubber band as a tiny, repeatable spring. Stretch it and you store energy. Twist it and you store torsion. In a confined drain, that stored energy turns into a swift, controlled snap that breaks the weak bonds of hair knots and soap gels. The material’s surface “tack” is a bonus. It’s grippy enough to catch filaments of hair, yet soft enough to avoid scratching chrome, resin, or plastic. Elasticity creates micro-shocks without metal-on-metal abrasion. That matters in older homes with delicate traps.
Another advantage is geometry. A linked rubber band chain conforms to bends and U-traps while maintaining contact with the pipe wall. When you twist the chain and then let it recoil, the bands fan and scrunch, scraping biofilm in a gentle, peristaltic motion. Water helps too. A small flow acts as lubricant for insertion, then carries loosened debris away. Because you’re not introducing caustics, you’re keeping the waste stream greener and your indoor air free from fumes.
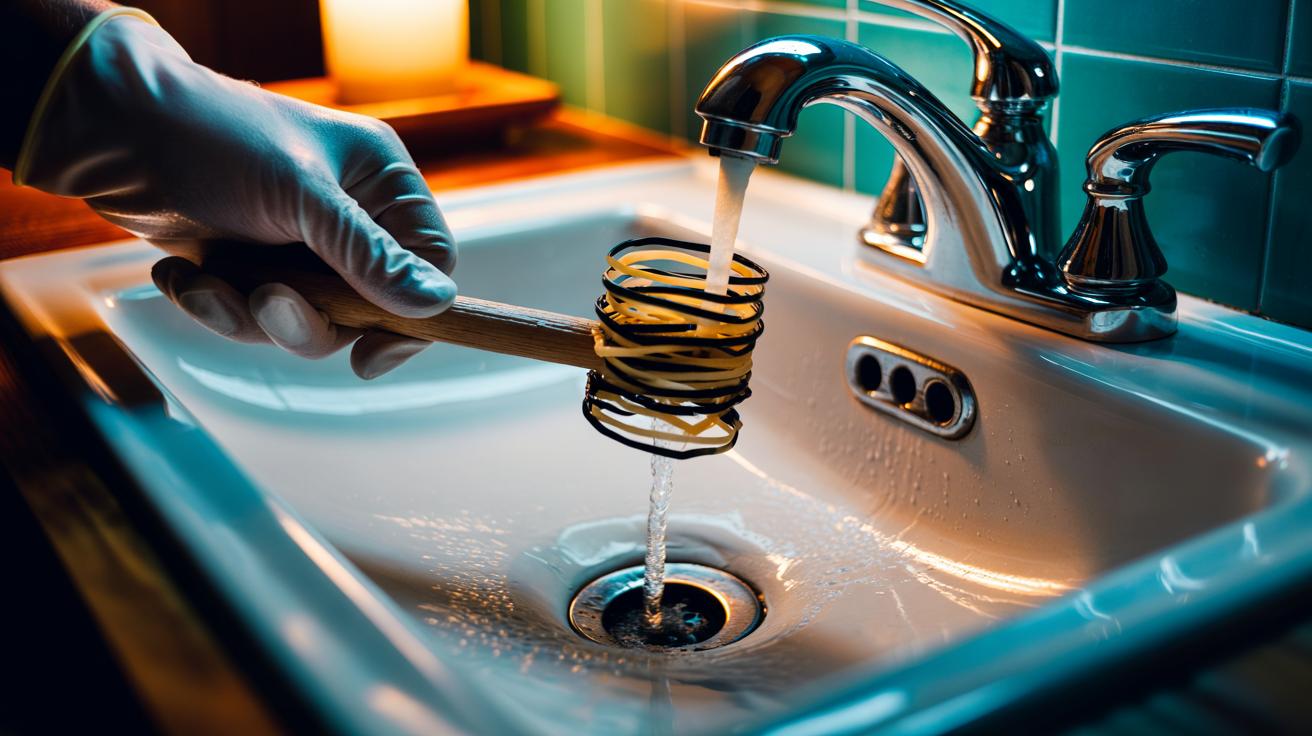
Make a Tension-Ready Rubber Band Tool
Gather 12–20 medium-width rubber bands, a short wooden dowel or chopstick, and a small piece of masking tape. Create a daisy chain: pass one band halfway through another, then loop its free end back through itself and pull snug. Repeat until you have a 40–60 cm chain. Tape one end to your dowel for a secure handle. This gives you a flexible, low-cost drain snake that’s surprisingly capable. Add a final “collector” band—slightly wider—at the tip to maximise grip on hair clumps.
Choose sizes by opening diameter and thickness. Wider bands snap more gently but push more surface area against residue. Thinner bands reach deeper bends. Use the table below as a quick guide for sinks, showers, and bath overflows.
| Band Width | Chain Length | Best For | Notes |
|---|---|---|---|
| 3–4 mm | 50 cm | Bathroom sinks | Flexible in tight traps; good hair pickup |
| 5–6 mm | 60 cm | Showers | More contact area for soap scum and biofilm |
| 8–10 mm | 40 cm | Bath overflows | Gentle snap; ideal for shallow reaches |
Step-by-Step: Snap-and-Release Technique
First, remove the plug or unscrew the strainer and wipe away surface gunk. Run warm (not hot) water for 15–20 seconds to soften the blockage. Feed the rubber band chain into the drain until you feel light resistance. Stop. Pinch the handle and twist a half-turn to pre-load torsion. Give the chain a short, 2–3 cm push, then release the twist. That’s your snap. Repeat in short cycles—twist, push, release—letting the recoil do the heavy lifting. Do not force through rigid resistance; back off and change angle.
Every few cycles, pull the chain out slowly to clear attached hair and sludge into the bin. Rinse, reinsert, and keep the warm water trickling to flush loosened debris. For stubborn clogs, add a teaspoon of washing-up liquid to reduce surface tension, then continue. You can escalate gently by increasing twist to a full turn, but keep movements short to avoid dislodging seals. Finish with a 30–45 second rinse and a paper towel test: if water pools, repeat; if it drains cleanly, you’re done.
Safety, Limits, and When to Call a Pro
Never combine this method with caustic drain cleaners. If chemicals were used recently, flush thoroughly and wait, or skip this technique. Rubber is forgiving, but don’t fish blindly through garbage disposers or sharp-edged grates—disconnect power and remove the grid first. In very old plumbing, avoid aggressive twisting near corroded metal. The snap is gentle, yet caution preserves fragile joints. If your trap is removable, consider undoing the compression nuts and cleaning it at the sink—then use the rubber band chain upstream and downstream for a full clear.
Know the red flags. Slow drains with gurgling in nearby fixtures hint at a vent or stack issue. Recurrent clogs in multiple rooms suggest a main line problem. In these cases, stop DIY and ring a local plumber. The method excels at hair clogs, light food residue, and soap scum within a metre of the waste. It won’t chew through tree roots, fatbergs, or collapsed pipes. If the water level rises rapidly or you smell sewage, seek professional help immediately. Safety first, always.
Used thoughtfully, rubber bands turn into a nimble, eco-friendly ally for domestic drains. Elastic tension breaks weak bonds, flexible loops carry the mess out, and soft surfaces protect your fittings. It’s fast, clean, and costs pennies. Keep a chain coiled in the utility drawer; you’ll use it more than you think, from shower hairballs to kitchen slowdowns after a big roast. Ready to try the snap-and-release and retire the caustics—or have you found another clever, low-tech hack that keeps your pipes flowing without the drama?
Did you like it?4.6/5 (26)